2.1.3. Create Your Own Landform Map
Activity 3 – Step 1
Create Your Own Landform Map!
Print a blank U.S map. You may use the one in Activity 2 or any that you find online. Make this as large as possible. You may even wish to have a large version created at a commercial print shop and have the map laminated for future activities.
Step 2
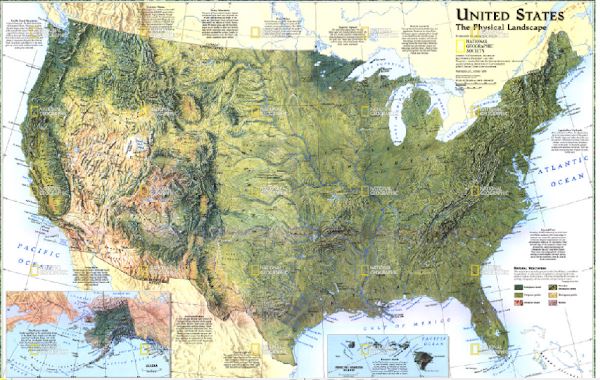
On the print or digital version of the National Geographic Physical Landscape Map, identify forests, mountains, rivers, deserts, plains, and other landscapes.
Find these areas on your own blank map.
Step 3
Choose how you will Illustrate each identified landform. For example, you might glue or tape small pieces of sandpaper to desert areas on your map.
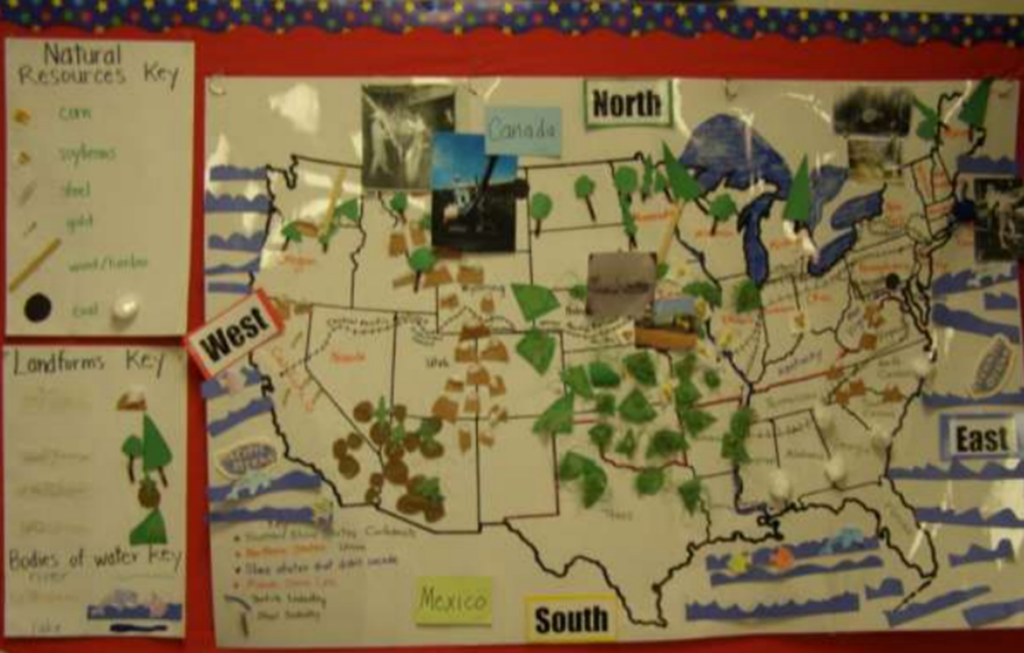
When you are finished, your map may begin to look a bit like this one. Click to open and enlarge the image.
Step 4
When you have finished illustrating landforms on your map, create a key.
A map key is a list of the symbols on a map, and what they mean. Remember how sandpaper represented desert areas in the example in Step 3? On a key, you would paste a tiny piece of sandpaper next to the word “desert” so that everyone viewing the map would know what it represents.
